Welcome

Welcome

Friday 29 June 2012

What Have I been doing?

IT'S A FAIR QUESTION

What Have I been doing since I last wrote a blog?


Well, I'll tell you since you are asking...................

I have been clearing out my craft room and putting in some new storage.  Now, when you start to clear out a craft room, you should be aware that you could get lost amongst all the crafty stash that (quote) 'might come in handy one day'  (unquote) GET RID OF IT!!!!!!!!

So I decided that if I hadn't used it or noticed it over the past 6 months...........I DIDN'T NEED IT!


Now I know there is a difference between needing and wanting, but I slowly realised that I had to keep what I needed and discard (see what I did there? dis-card? lol) all that I didn't need... even if I thought I might need it!!!!!!!!!

Some of you will know I have a room that used to be my office, which I have turned into my craft room, and inside the room there is a walk-in cupboard........which, recently, I could not get into because of everything being everywhere.  I don't have a before photo......when I pointed my camera at it it refused to work!!!!

You will just have to use your imagination................and I can assure you that you will never imagine the mess as bad as it was, so if you try.............then at least double the effort of messiness in your head!!

The down side of all of this is that I haven't been crafting .......OH NO!!! Panic stations............I might forget what to do with everything..........or maybe not!!

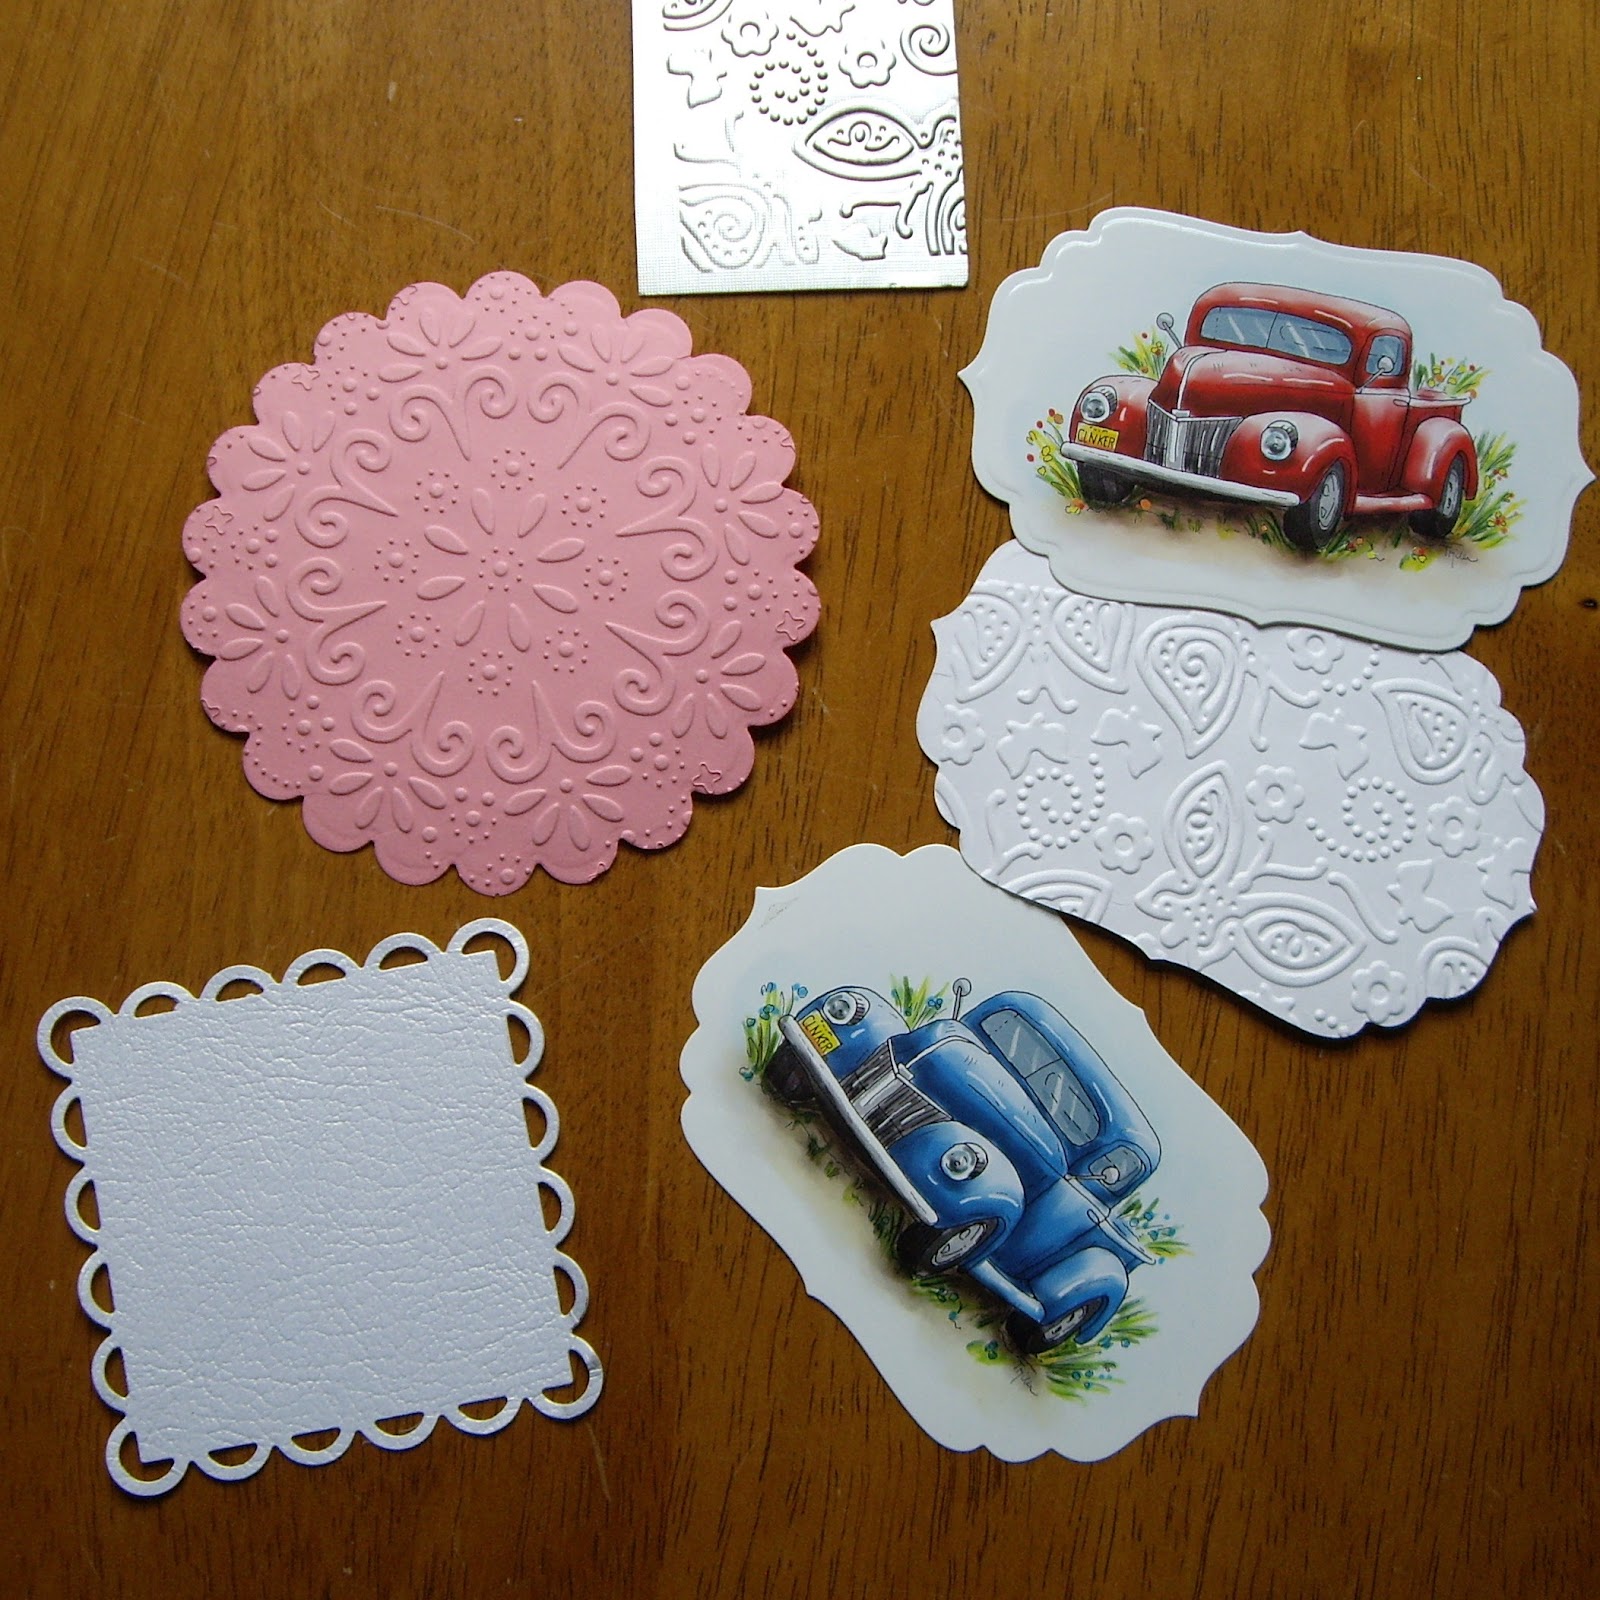
This is what my desk area now looks like and the large photo is on my computer screen of a card I made a while ago.  


So that's my desk area..........this is it tidied, by the way..........if you had seen it before, well the spiders cobwebs were being sub-let!!!!!

If you swivel to the left, as you look at this desk you will see a wall at the end of which is my walk-in cupboard.  Here it is  all neat and tidy....ish!!


The cupboard is really quite deep and you can stand inside it before you get to the shelves.  I removed the door and hung the net curtain to lighten up the space.

If you swivel round a bit more you see the opposite wall from my desk, and it now looks like this:


This is my new storage system of boxes and I'm really impressed with it.  It's on wheels, and held together with a very sturdy top.

Here is a photo of it before I put anything into it:

So you see why I am so excited?  I hope so.

Everything that I had stashed away in boxes and tins and in every nook and cranny is now in this unit.....it is so surprising how much it holds.  From the bottom up there are 3 rows of 3 boxes each holding 9 litre of emptiness.........and now they are full.  Bottom right is full of white paper, bottom middle is full of mixed odd paper and card, bottom left has a lot of die cutting stuff in it!! Across the middle from left to right.........CD's and projects I have never started yet e.g. books for altering etc (things I have never attempted!) In the middle is all different bits of patterned card and paper for matting or cutting, and the right one  is full of part made cards and ideas. The next row up from left to right......the first box is full of ribbons, the middle one has loads of paper and card that is plain but partly used so ideal for matting and cutting.  The next box is full of paper and card pads and freebies from magazines.

The next two rows are 4 litre in size.  So the top row from left to right are.......the first box has all my stepper and shaped cards and templates, the second box is full of glittery paper and card and the third box is full of        mirricard and mirripaper.  The row beneath it from left to right: The first box hold my already to use cut out dies , the second box holds the safmat, greaseproof paper, acetate and any other special kinds of paper or card.  The last box in that row has wedding things in it.

The tiny containers above hold all the little embellishments such as buttons, small flowers, die cuts, wooden items etc.......I am not going to go on abut what is in the boxes next to them..........maybe another time.

Today I cleared the drawers in the sideboard, which is against the opposite wall to the walk-in cupboard:  As you can see the top still needs sorting as tdoes the pile next to it.........I have ordered some more useful boxes so that I can get rid of the unsightliness of the filing cabinet etc, so I'm looking forward to them arriving.


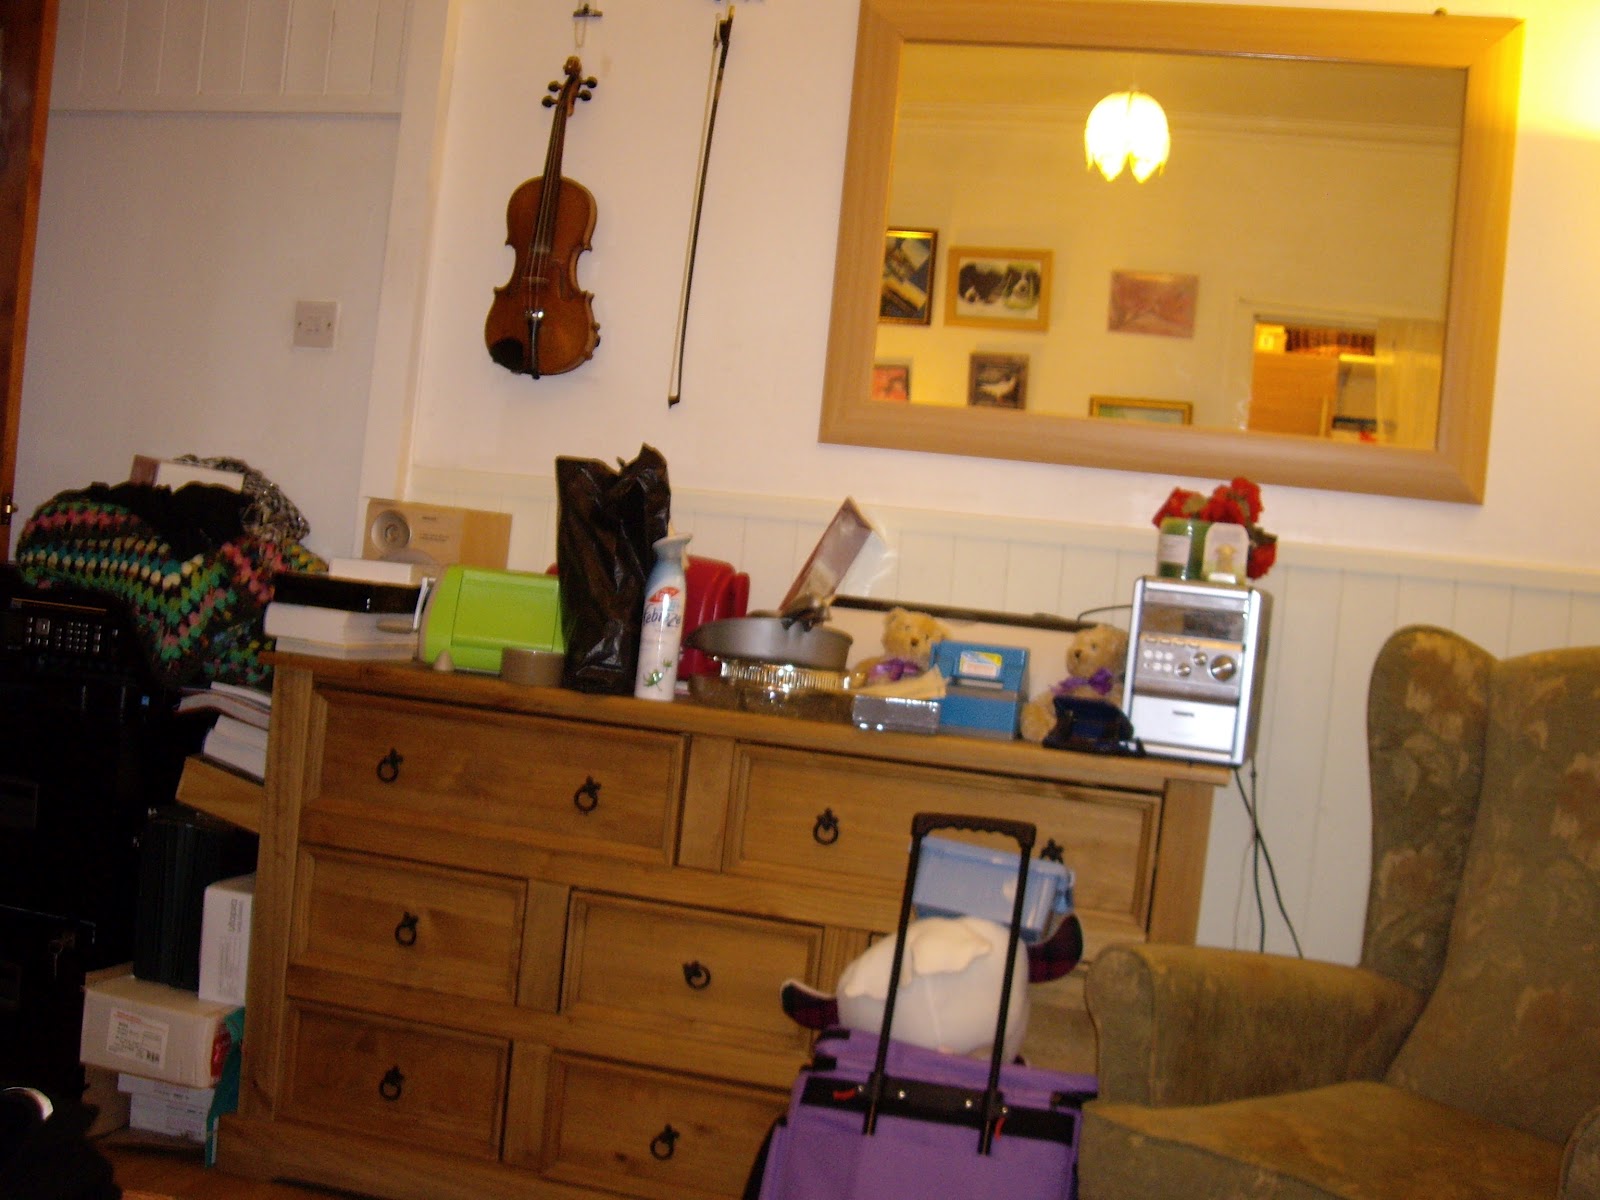
This is the window ledge, right next to my storage system, which desperately needs a clear-out and sorting............that will be one of the last jobs as I will change the net curtain when I get round to it, although I have inmind asking a friend to help as I can't get up there personally.


Opposite the filing cabinet etc is my lovely piano, which I have tried to sell, but so far to no avail!  I really want to put up a work bench where it is sitting right now.  The reason being is this:


This is where I work and make everything.....on a 12' x 12" board balanced on an open drawer!!!!!  How crafty is that then???  

Oh, I forgot, I also sorted the drawers out in the desk and they now hold everything glue, stickles, cuttlebug and such like!!!


So there you have it.  That's what I've been doing for the past couple of weeks.  Bearing in mind I have need of a walking stick to get around and have to raise my leg for periods of time to rest it............I think I've done a stirling job!!! SO FAR!!!!!!!!!!

There is more to do, but I'm taking a rest now for aday ro so and then I will get right back into it.

Thank you for visiting today, and remember, if anyone says the job is too big..........well, you eat an apple one bite at a time and that's what I've been doing......one bit at a time.

Love and hugs

Annie xxx

Saturday 16 June 2012

Word Art Wednesday


WORD ART WEDNESDAY

13th June

Hello everyone, I hope you are all having a great weekend and that the weather is spoiling things for you:  This is the state of the weather here in the UK:


Oh well, we may get some sunshine eventually, but I won't hold my breath!!!

The week's Scripture for Word Art Wednesday is from Philippians chapter 4 verse 6, and it says, "Be careful for nothing; but in everything by prayer and supplication with thanksgiving let your requests be made unto God."

So I did a little study about this.  At first it sounds as if it is actually saying don't be careful.....however when I looked up the various Bibles I have it actually means, 'Don't let other things get in the way of" or, in the context of the scripture, it says, " Do things correctly, you are being watched by other's, so don't give them a reason to see anything other than your thanksgiving attitude!"

All believers have the power to stay thankful in every circumstance or situation, because the peace of God (that passeth all understanding)  i.e. the peace of God, which is unfathomable, SHALL keep our hearts and minds through Christ Jesus.

It is the power of the peace of God that gives us the strength to go through every day, and all the trials and tribulations we encounter.  We cannot do it ourselves, so this Scripture is very precious to me, because it tells me it is not what I can do, but it IS  what Jesus has done for me!

Here is Joseph Prince's meditation for the day, which is the same scripture.


Meditate On

Be anxious for nothing, but in everything by prayer and supplication, with thanksgiving, let your requests be made known to God; and the peace of God, which surpasses all understanding, will guard your hearts and minds through 
Christ Jesus.
Philippians 4:6-7

Experience Jesus’ Robust Peace

Peace is not the absence of trouble in your life. It is possible to be in the midst of the biggest crisis in your life and still experience peace. That’s the true kind of peace that Jesus gives—peace that surpasses all understanding. Naturally speaking, it does not make sense for you to feel completely at rest and at peace in the middle of a clearly stressful situation, but supernaturally, you can be filled with His peace!
The world defines peace based on what is happening in the sensory realm. Its notion of peace would look something like this: A man lying in a hammock on a white sandy beach with waves rolling languidly along the shoreline. It calls that peace—until reality kicks in!
Beloved, you cannot use your external surroundings to permanently influence the turmoil that you are feeling inside. Only Jesus can touch what you are feeling inside and turn that turmoil into His peace. It’s not the other way round. With Jesus, transformation is always from inside out and not outside in. So when you turn your cares into prayers and seek His presence and favor, He puts a peace and rest in your heart that is robust and secure. You will find yourself able to face any challenge without worry or stress, regardless of your circumstances and environment!

Blessings,
Joseph Prince


Here is my offering for this week:


I hope you like it.


Love and blessings


Annie xxx

Wednesday 13 June 2012

Bookmarks

BOOKMARKS

Hello everyone.  It's beautiful outside but very cold in the wind, so I think I am in for the rest of the day if possible.


Today will be a short blog about making bookmarks.


I don't have stuff like photoshop, or any other crafty type software, so I use the Apple equivalent of a document, which is called 'pages' .  In windows it is called 'document'.


So, first of all, I get up a blank document.


Then I remove all margins, so the page is edge to edge on screen.  Although I do this, when it prints it still has a small border around it, which you will see when I put up a photo.  


The next thing I do is fill the page with 6 columns, as each one will end up being a bookmark.  This way they are all the same size and width. 


So you now have a blank document with 6 columns.


The next thing to do is fill the columns with your desired patterns.  I have used designs I keep for crafting and make them all different if possible, but you can use the same design for every one.  I have found that when I take a jpeg or pdf image of a design, it only wants to fill one bookmark, so this gives you a great opportunity to experiment.


Once all the designs are on, I then write the text, using the fonts on my computer.  For some reason this is not very easy to do for me, possibly something I am or am not doing.  However.  I end up on screen with the document and a second document under it.  i.e.2 pages or 2 documents ---- one with the book marks and one blank.  (I tell you this in case it happens to you too), so be aware for printing that there is one of each per page.  


Here is what I mean ............... the following two photos have been taken of the screen of my computer, so there is a little distortion on them, but it shows you exactly what I am talking about.


Here is the finished page, but you will see that is another page with it:


It doesn't matter what I try and do, I always get this.  I think it is because I removed the margins, header and footer to fit everything in.


So anyway, I then print off the page, and it looks like the one below.


As you can see it has a margin all around it, which the computer does all by itself.


The next thing to do is to cut them up and trim then, like these:


I
t's at this point you can decide whether you want to laminate or decorate them in addition to what you have printed off.  I tend to punch a hole at the bottom of the bookmark, in the centre and then thread a ribbon through, just like these:


So there you have bookmarks.  


I make most of these to give away, and I have a friend that does mission work in India and for her I put scriptures on them as that is what she wants.  she then gives them to the ladies she works with on the streets etc.


I am sure there are easier ways of making them, but I am not that clever, so I just use what I know about.


Just to let you know that it is entirely up to you if you want to put the pattern on both sides.  I tend to leave them blank on the back so that people can write on them.


I hope you have enjoyed this journey into my bookmark making.


Love and hugs


Annie xxx

Monday 11 June 2012

Family

FAMILY

Today I thought I would concentrate on family matters and share with you my immediate family through photos and a little story telling.

Once upon a time there was a little girl called Anne.....she was really happy to be called Anne because she found out that initially some relatives thought she was called Bertha!!!!  Not really a name Anne liked!  Anyhow, Anne was born in Buckie 


West church Street (Episcopal Church in foreground)


Buckie District Pipe Band


East Church Street (Church of Scotland with clock tower)


Elektron picking up reels


Lifeboat

Buckie is a busy town with a harbour with 4 main bays and a ship building yard.  The town boasts it's own pipe band amongst other things, and has a very interesting fishing heritage centre.


Findochty

And here is where Anne grew up:

Findochty in the winter:


An arial view of the village as it is today


It now has a fabulous caravan park for the many visitors who come to see the local scenery and wildlife:


This is the kind of wildlife we have and the view from the caravan park is the same


The two boats here are the Fragrant Rose from Buckie and the Victory from Findochty.  This is a very old photograph, because boat building in Findochty ceased when Anne was born, about 60 years ago.


So, Anne (me) had a very traditional Scottish upbringing and loved the village where she grew up.


I'm going to cut out a lot of her story and move to the present, and from the third person to the first person:


I am now married to Philip, and have lived in a village not far from Findochty, called Portgordon for the past 10 years.  Buckie is 2 miles away and Findochty 4 miles away.


Here is Philip:


Here I am at my 60th Birthday in March this year:


I am really blessed to have so many friends and family around me and that want to come all the way up here from England to share special times with me.
My blessings extend into my immediate family:


Here is my eldest of two sons, Robert.  He lives not very far away from me with his wife Sue and two sons, Samuel and Joseph.


Here is a photograph, taken at my 60th celebrations,  with Sue in the foreground and opposite her is Joseph and Sam and his dad sitting next to him.  The other people in the photograph is good friends Alan and Sherron.

This is Joseph, who is 14

This is Samuel who will soon be 16


I am so blessed with my family.  Both Sam and Joe have girlfriends and they all attend the Harvest Centre Church in Banff and are very active in the youth work there.


Then there is my other son Colin (mainly known as Woody), who lives in London and who is now separated from his partner to whom he has two sons Carson and Monty:


Woody is a little bit unique when it comes to dress sense!  However, he is made for music:

and was in a band:

But now he is resting from that.

Here is is ex-partner Caroline with Carson and Monty:

They are both lovely boys.  Here is carson showing us his moves:


And here is Monty showing us his super-powers:

I hope you have enjoyed meeting some of my family today.  I love all things to do with people and where else better to start than with my children and grand-children.


Just a little bit of music from a time gone by:


Love and hugs


Annie xxx

Sunday 10 June 2012

Die Cuts for crafting................. Sunday 10th June

DIE CUTS READY FOR CRAFTING

Hello everyone.  I hadn't forgotten you....honest.  I have been busy these past few days.  On Friday I spent the day with my daughter-in-laws sister, who is here in Scotland looking after my grandchildren while their parents have a well deserved break abroad.  It was really great spending all that time together, as we didn't really know each other very well at all, and had never spent any amount of time in each other's company except when we attended my son's wedding to her sister.  So, it was lovely.  We talked all day, had lunch out, and she visited my home and met Jazz and Bess (thankfully she loves dogs!)

The rest of the time, when I have not been visiting social networks, emailing people and on the phone to others, I have spent die cutting.....so that's what today is all about.  Using up bits and bobs of paper and card that one would normally throw out.  It's just a matter of placing them in the right position and using dies that fit them.

Here is my first offering:

These are grand borders from Spellbinders.  It's the first time I had used them and I coloured them whilst still in the stencil.  Now, if I use them I will probably touch them up to a better standard, but this was just an exercise to see how they would turn out.  They are 12" long and 2 and 1/4" deep. There will be many things I can do with these dies and I am looking forward to using them soon. The white card I used were strips left over from another project.


The video is for people using the cuttlebug, but you will then realise the grand calibur will cut them out in a one as they have 12" cutting plates.


Here I have a selection of round things!!! Okay then, I have no idea what else to call them.  The top one is cut out of grey self adhesive felt and you will see there is also a gold one with my reflection showing in it!  The edging is of butterflies.  The pink one in the centre is the same as the one on the right between the grey and gold larger circles, except I left in the twirly bits..........you are now probably getting a flavour of what it would be like to have me demonstrate things to you............twirly bits, round things etc etc ........I'm very technical you know!!!! NOT!!!! The pink butterfly fits onto the other two butterflies, so gives a 3D effect, and can be done in any colour combination, as can everything else I am showing you.  I had bits of card/paper left (because I never throw anything away!) and used them all up.


Here I have a mixture of embossed die cuts and digital stamp images I die cut.
The pink scalloped die cut was embossed using the centre of a cuttlebug embossing plus thingy called Blooming Bouquet........and I think it just adds something to the cirlce.  The images of the truck and wheelbarrow are Fred She Said digistamps, which I printed and then die cut out.  The rest speaks for themselves really. The one next to the wheelbarrow is a marianne die, which I embossed using a cuttlebug paisley embossing folder.


Now I am going to show you some embossing.  
The first one is Fleur De Lis, which was made using Spellbinders Impressabilities, which are very delicate metal ........I know, I'll take a photo and show you!!


Again, here is a demonstration using the cuttlebug.


I used rainbow mirricard for this one and you can see how well the embossing has come out.  


I also debossed it, which you can see below......I just love the versatility of these stencils.


This one is of cherries which I used on a very pale pink card.  These stencils are about 6 x 4" and you can use them whole, or cut them up for individual bits or sections.  They really are very delicate, but don't let that put you off.  I have used them in my Grand Calibur and Cuttlebug...no problem.


These two are from stencils called Multimal, and were sent to me by my crafty friend from Tiverton.  All I did was cut round them and now I have some lovely panels.  The two of them fitted onto one A6 piece of card.  They can be embossed using a light box or cuttlebug or grand calibur.


These next ones just show how they can be left plain or embossed and the gate/window one is just fabby.  I will show you the other side of it.  Unfortunately the photo is a bit blurred, but I think you will get the drift!


As you can see I used double sided card, which was made by co-ordinations and I sanded the front so that the brown looks almost gold, but left the back orange.


Now, here I had some fun with hearts. I love these and they are just perfect for wedding cards, valentines or just for love.  As you can see I have used the base heart and the intricate companion to it.

Here is a close up of a heart:  Isn't it beautiful?  These dies are from Memory Box and they have loads more that I would love...............


Finally here are some smaller things I die cut or cut out.  First of all the large red flower is a Fred She Said digi-stamp, which I hand cut out and put together ready to use. I think it's lovely.  The leaves are spellbinders which I cut out and then embossed.  Using spellbinders to cut  is easy, and embossing them is too. All you have to do is leave the item you have cut out in it's die and depending on which machine you are using, follow their instructions for embossing.  

The 2 top yellow rose flowers were made using a marianne die to cut out the strips and then I rolled them up and glued them once I had let them unwind a little bit.  I used a quilling tool to roll the flowers, but really you could use a fine tweezer and do the same.  The other four flowers are made by being cut using Xcut quilling dies and then rolling them up too.  Once rolled you spread open the petals.  You may see that I made a centre for one to them using a different colour, and that was made by just rolling up a thin small strip of pink lightweight card.  It is best to use good quality paper for these items.  The tree was cut out using a cottage cutz die, which was a present for me.  It has heart shaped separate leaves, which I have not shown here.  The thin leaves (one either side of the spellbinder ones) are also dies from a different company, of which I am not sure.  The last two flowers (green and yellow flat ones) I cut out using my cricut expression.

I have many more dies and will do something with them another time.  Just remember you can use off cuts from anything to make things with.  

A hint on making flowers.  If you have a heart punch, then punch out a few from the same or different bits of paper.  Cut the hearts down the centre into two halves.  Make the flat bit round so that they look like petals.  You can then glue or stick them down with the pointy end to the centre and if you slightly curl the ends of each part, you will have a lovely flower.  To cover the centre you can put a gemstone.

I could goon and on, but I thin that's enough for today.

I hope you are all well and have had a great weekend.

Love and hugs

Annie xxx